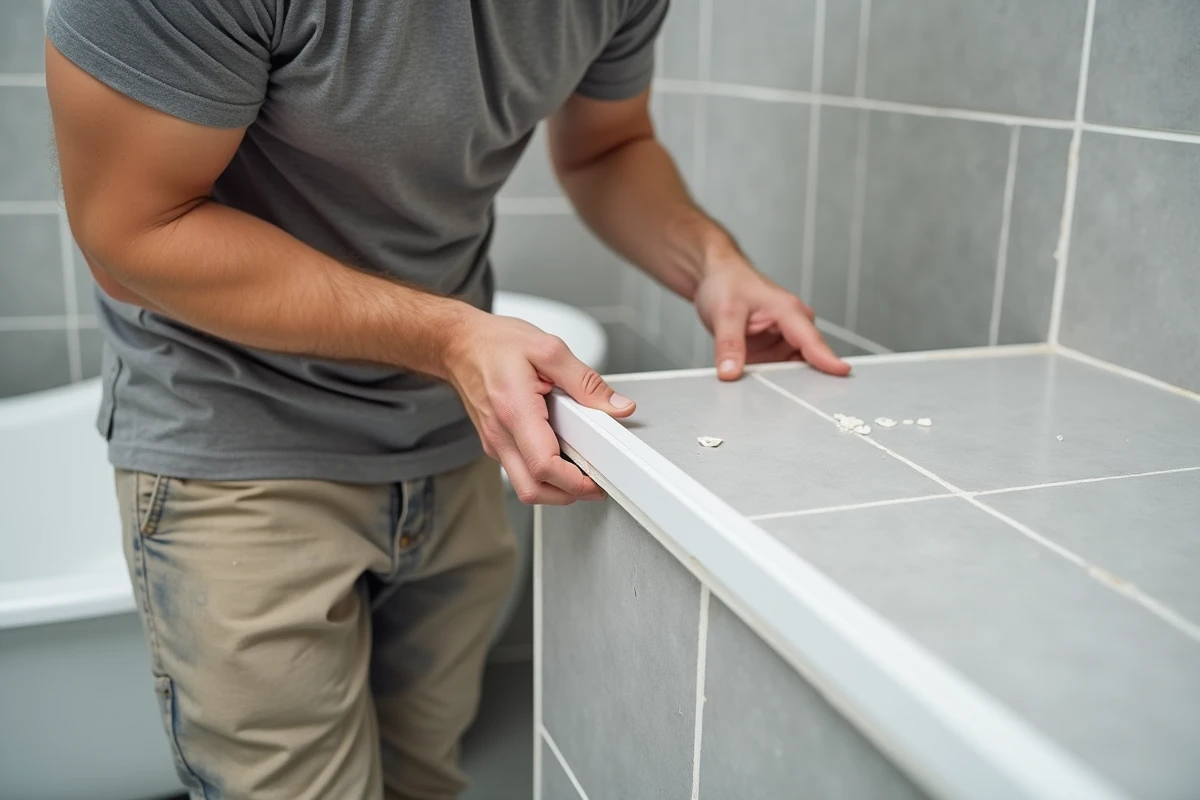
On an outgoing shower or backsplash corner, a large format tile installed without a profile will always end up showing its raw edge. The outgoing corner trim is not just for decoration: it absorbs the micro-movements of the substrate and protects a fragile tile edge from everyday impacts. When well chosen and properly set in the adhesive, it transforms a rough finish into a clean edge for years.
Outgoing corner trim on large format tiles: the trap of thin joints
60×120 cm tiles have changed the game. Their surface requires thinner joints, often reduced to two millimeters, and their weight generates a flex that smaller formats do not experience. On an outgoing corner, this flex concentrates exactly where the trim needs to hold.
The concrete problem: with a thin joint, the trim has less material to be secured. The flange of the profile (the flat part that slips under the tile) is held only by a thin layer of adhesive. If the tile shifts due to thermal expansion or an imperfectly flat substrate, the trim can come loose in places.
To compensate, we adapt the method. Instead of relying solely on simple adhesion, we switch to systematic double bonding in the corner area: one layer combed on the floor or wall, and one layer on the back of the tile. The flange of the profile is then embedded in a sufficient thickness of adhesive to absorb the stresses.
The other point to watch is the choice of the profile itself. On large formats, a flexible PVC profile may bend between two fixing points. An aluminum or stainless steel profile maintains its rigidity along the entire length of the tile. Feedback varies on this point depending on the substrates, but on a drywall, aluminum remains the most reliable choice.
To better understand how to install an outgoing corner trim for tiles based on the format and material, choosing the right profile for the thickness of the tile remains the first step.
Tile thickness and profile choice: the correspondence not to miss
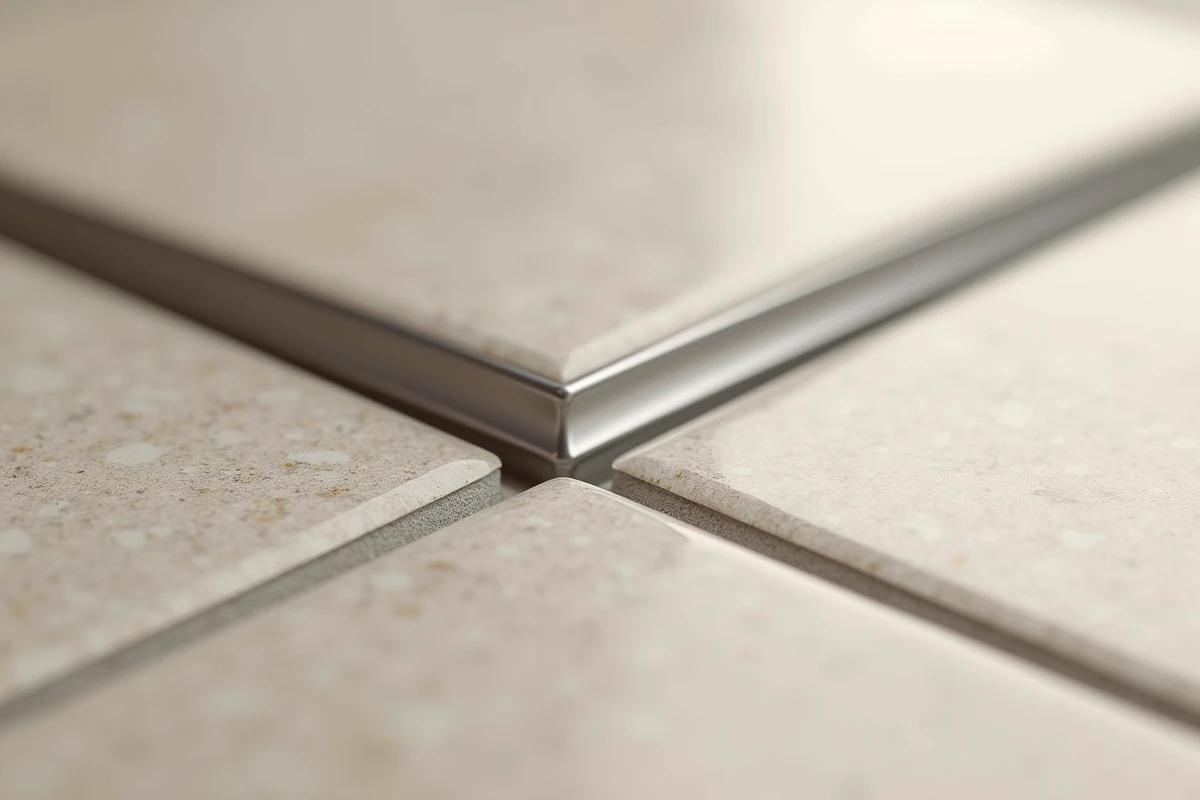
An outgoing corner trim comes in several flange heights, calibrated for specific tile thicknesses. Installing a profile designed for an 8 mm tile on a 10 mm porcelain stoneware tile leaves a visible offset, and vice versa.
Measure before buying
Measure the actual thickness of the tile, not the one indicated on the packaging. A tile advertised as 9 mm may actually be 9.5 mm with its glaze layer. The trim should be flush with the surface of the tile or very slightly recessed. A profile that protrudes catches feet and disrupts the visual line.
- Thin tiles (6 to 8 mm): 8 mm profile, common in wall tiles for bathrooms or backsplashes.
- Standard tiles (9 to 10 mm): 10 mm profile, the most used in porcelain stoneware for floors and walls.
- Thick tiles (11 to 12 mm): 12.5 mm profile, often necessary for large rectified formats installed on the floor.
The material of the profile also affects the finish. Anodized aluminum blends with gray or anthracite tiles. Brushed stainless steel pairs better with light finishes and resists water splashes in wet areas. PVC remains limited to areas without mechanical stress.
Installing the outgoing corner trim: the sequence that avoids rework
The trim is installed at the same time as the tiling, never afterward. This is the rule that conditions everything else. Gluing a profile onto already dry tiles with silicone sealant yields a fragile and visible result.
Prepare the corner before applying adhesive
Check the plumb of the corner with a mason’s rule. An outgoing corner that is not straight within plus or minus two millimeters will be difficult to correct with the trim alone. If the gap is too pronounced, correct it with a leveling compound or an extra layer of adhesive.
Embed the flange in the fresh adhesive
The flange of the profile is pressed into the combed adhesive before placing the tile on top. The tile then locks the flange in place. Slightly push the tile down so that the adhesive rises into the flange’s perforations, creating a mechanical anchor.
On a wall corner, always start with the most visible side from the entrance of the room. The profile is placed on this side, and the returning tile butts against the trim. This sequence ensures a clean joint on the visible side.

Cut the profile without burrs
Aluminum and stainless steel are cut with a fine-toothed hacksaw or a grinder with an appropriate disc. PVC is cut with a utility knife or a miter saw. In all cases, deburr the cut with fine-grit sandpaper to avoid a sharp edge at the end of the trim.
- Cut the profile slightly shorter than the total length of the corner (one millimeter is enough) to absorb expansion.
- Join two lengths of profile end to end with a dedicated connector or a clear silicone joint, never bare.
- On a return angle (an outgoing corner that meets an incoming angle), cut the trim at a 45-degree angle for a discreet joint.
Finishing the joint between trim and tile: adhesive or silicone
Once the tile is laid and the trim is in place, there remains a small space between the rounded edge of the profile and the surface of the tile. This space is treated differently depending on the area.
In dry areas (kitchen backsplash away from water points, living room corner), the tile adhesive can naturally rise into this space during installation. The classic tile joint can then fill any gaps.
In wet areas, a flexible, mold-resistant silicone joint replaces the cement joint between the profile and the tile. Silicone absorbs micro-movements without cracking, where a cement joint would eventually crack under humidity variations.
Apply the silicone with a gun, then smooth it with a finger wet with soapy water. The masking tape placed on either side before application allows for a regular bead without overflow.
A well-installed profile goes unnoticed. It creates a continuous line on the edge, without offset or adhesive bulge. If the profile protrudes from the tile or if a gap appears between the flange and the substrate, it means that the thickness of the profile or the amount of adhesive was not appropriate. It is better to redo the installation of a tile than to mask the defect with silicone.